Start with elastic cord. I got several different widths of white and cream colored elastic. This is knit elastic by stretchrite: 3/8 in x2 yds. It can easily be dyed to match whatever flowers you have. Measure the childs (or mommy's) head and cut the length of elastic 1/2 inch shorter.

Pick out the flowers you want to use on the headband. I found several $1.99 stems at Micheal's that had enough small flowers to make 1-3 headbands. You want to get flowers with several layers of silk petals. Pull off the flowers and lay them out on the table.

Next cut a small piece of felt to use as a backing for the flowers. This piece was only 29 cents. Cut a strip of felt if you are going to put a few flowers in a row on the headband. If you are doing one big flower, then cut it into a circle a bit smaller than the flower.

I love to include my little ones in any project that I am working on. Here I let them hold the elastic in place. Put the ends of the elastic together, slightly overlapping. Then use a glue gun to adhere the felt to the elastic band.


Take apart the silk flower. It comes apart easily. Lay out each of the pieces of the flower.

Using your glue gun, put a smalll drop of glue where you would like to put the flower. Gently press the first petal down.

Add each layer of the silk flower onto the flower petal you have already glued down. Continue this until the flower is complete. Then glue the other flower petals down where you want them. I centered the largest flower in the middle and then put two smaller ones next to that.

I got a box of gems to place in the middle of the flowers just to make them look pretty.

I glued one gem into the middle of each flower.

Here is a gerber daisy that I was working on.

I laid out the petals of the flower so I could just grab them and glue them in order.

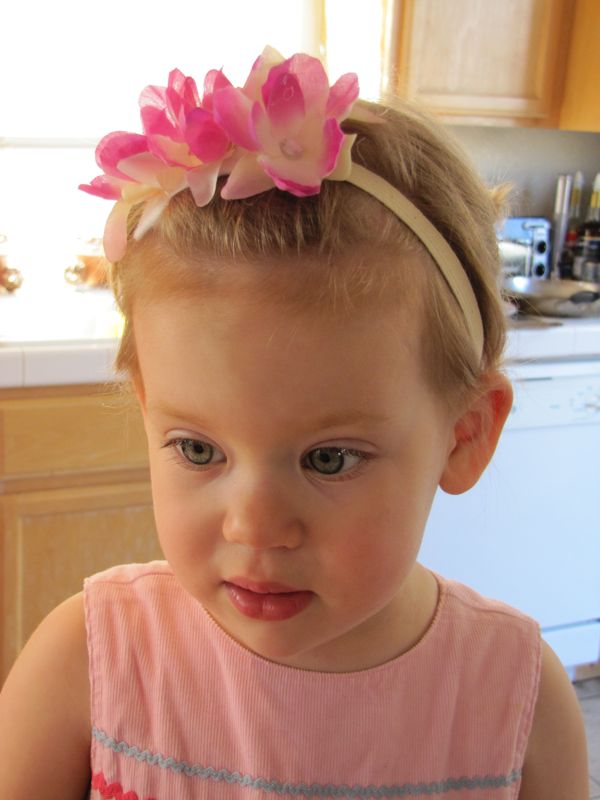
Here is the finished product. I just love how it turned out. I didn't have a gem big enough to glue onto the center so I just put the center of the flower back on it.


My little ones loved their new head bands.


3 comments:
Very cute! You just might inspire me to make some more, too. :)
It only took me 20 minutes to make four head bands. I really wanted to make these for my baby photo shoots, but I love them on my girls. Go make some Kim!
Those are so cute!
Post a Comment